How To Create Rules

How do I create a rule?
Rules are the bread and butter of TimeSanity.
There are a number of rule templates available to help you get started.
You can use those as a template to customise your own, or create new rules.
- Log into TimeSanity and select the Rules tab.
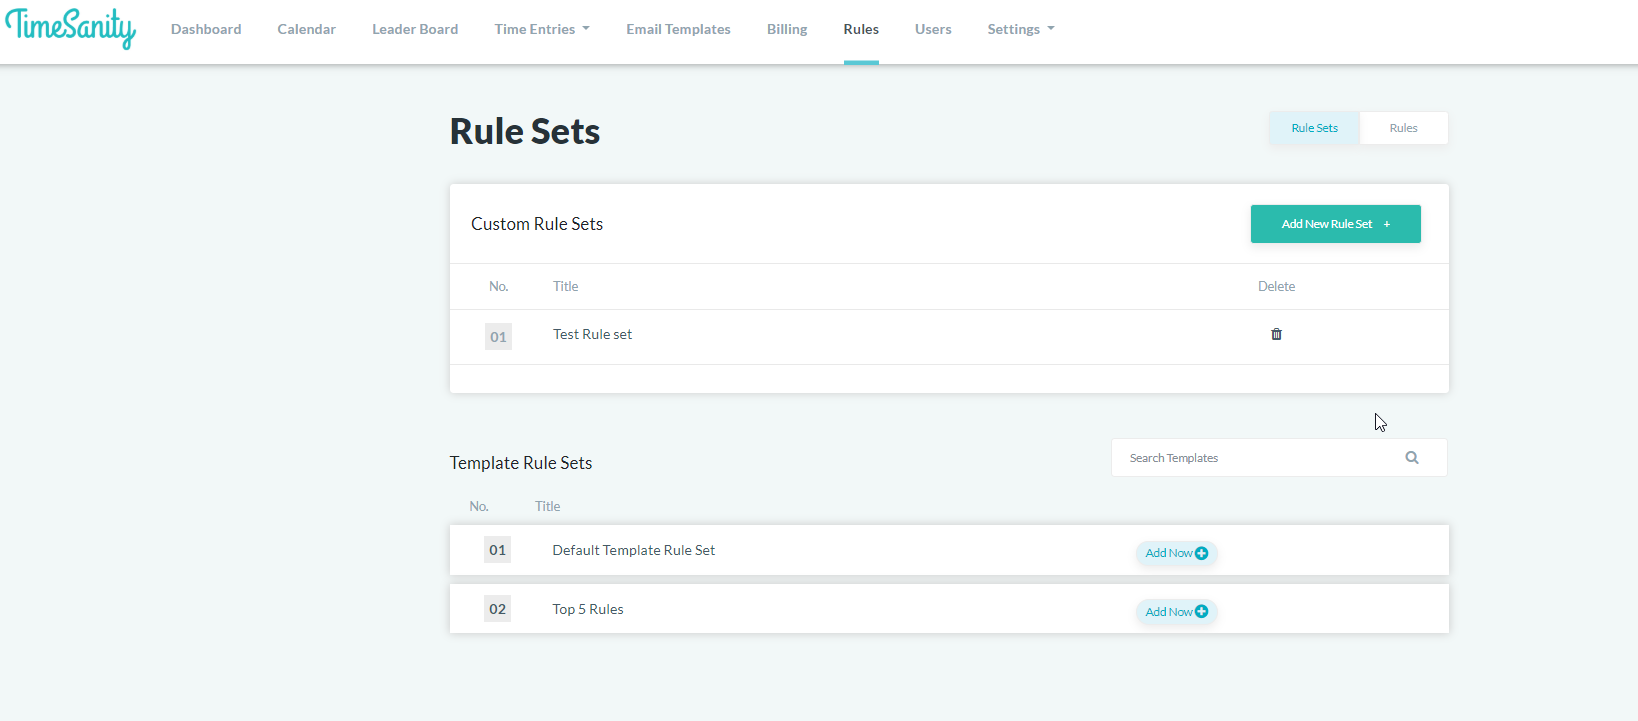
- On the top right, select Rules.

- Select Add New Rule +
From the Rules screen:
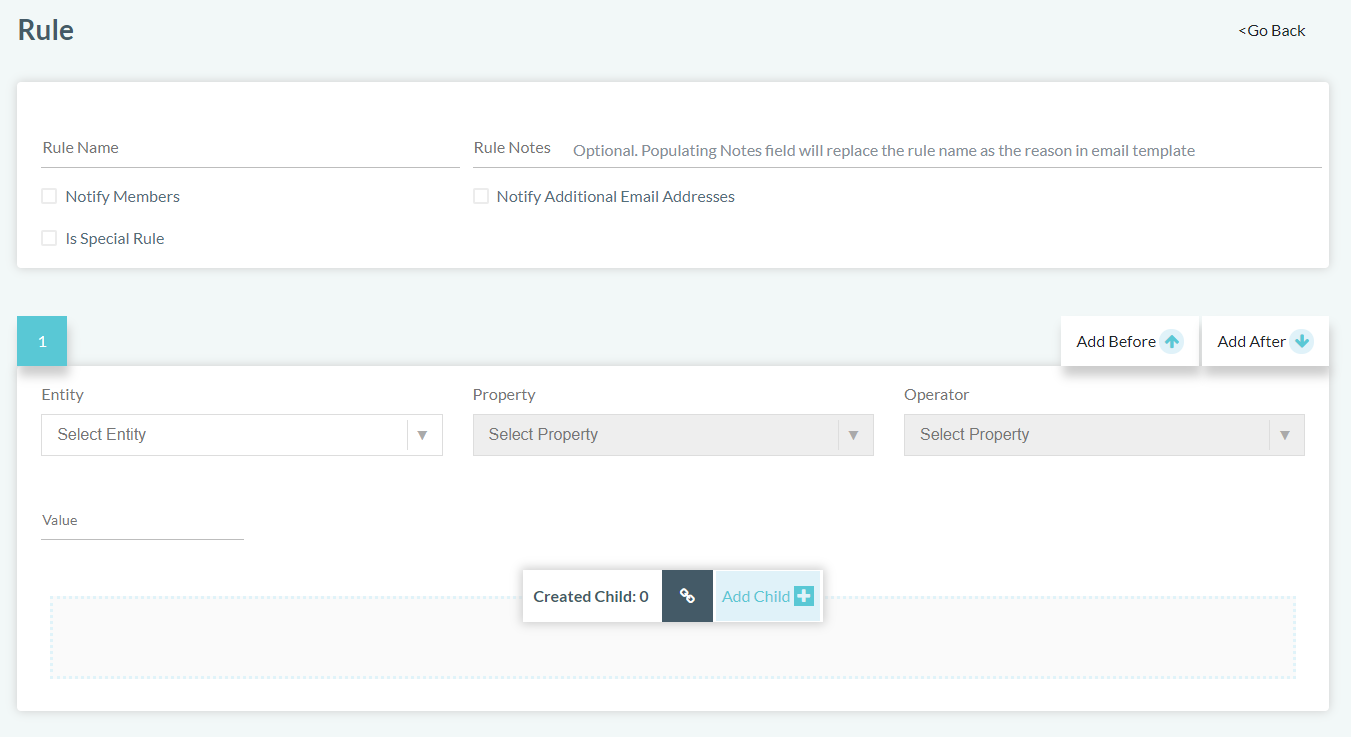
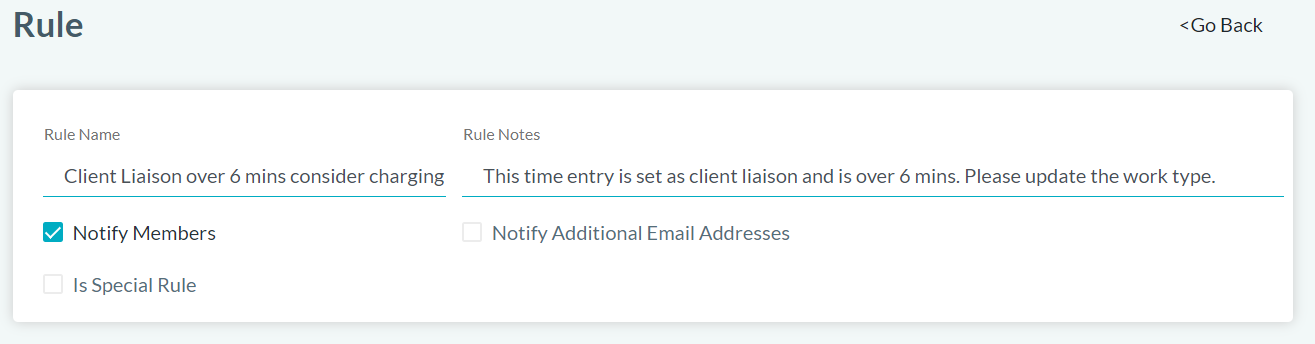
- Enter in the Rule name
- Enter in the Rule Notes. This is shown in the invalid time entry emails, so it is best to describe why the rule was broken and how to resolve it.
- Enable Notify Members to ensure that members are notified of when they break this rule.
If it is not enabled, then the invalid time entry will still appear in the Invalid Time Entries page, but members will not receive an email notification to prompt them to update their time entry.
New Rule
For example, the rule we are going to setup is:
Rule Name: Client Liaison over 6 mins consider charging
Rule Notes: This time entry is set as client liaison and is over 6 mins. Please update the work type.
Notify Members: Enabled
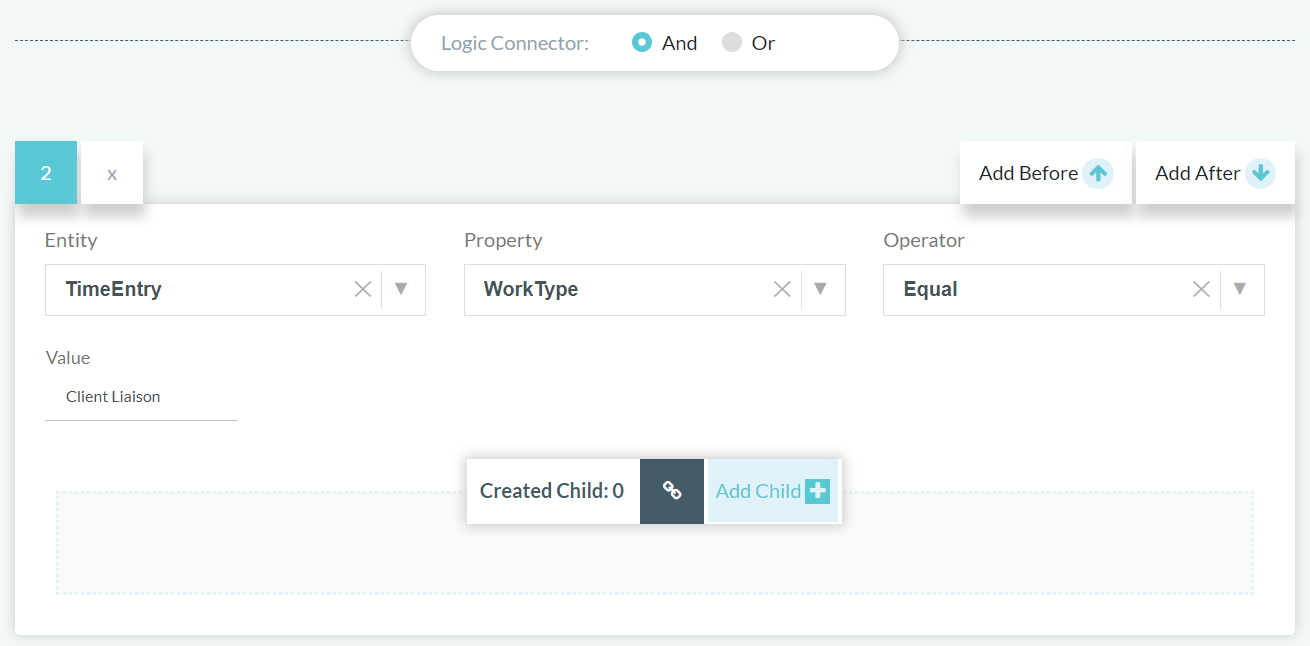
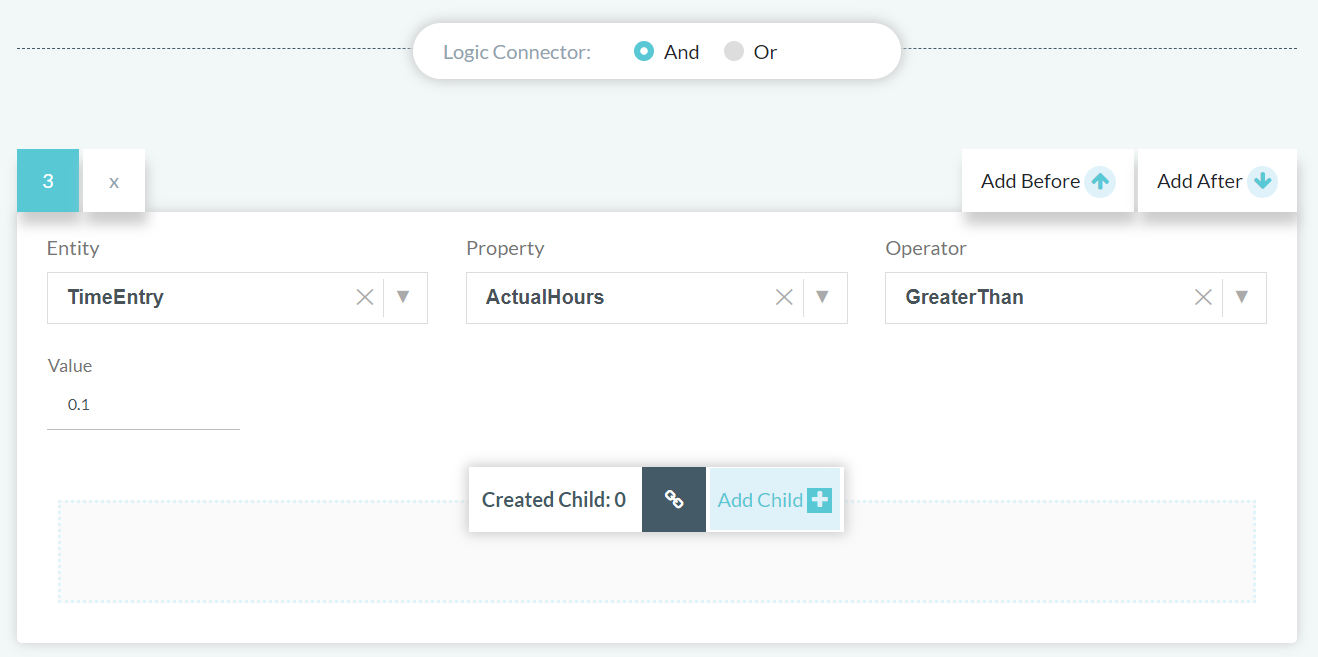
The rule parameters are:
- Board Name Equal "board name"
- AND TimeEntry WorkType Equal Client Liaison
- AND TimeEntry ActualHours GreaterThan 0.1
ConnectWise Entities, Properties and related Types cached by TimeSanity

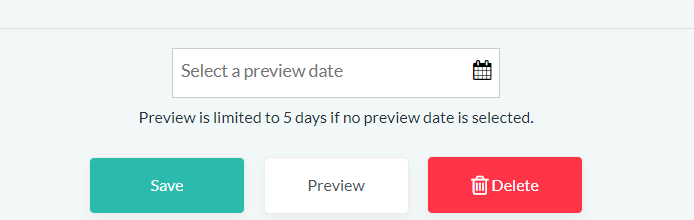
Once we have entered in the rule parameters, we can preview results to confirm invalid time entries are returned that break the rule.
Once you're happy with the preview results, or to continue editing this rule later, select SAVE.
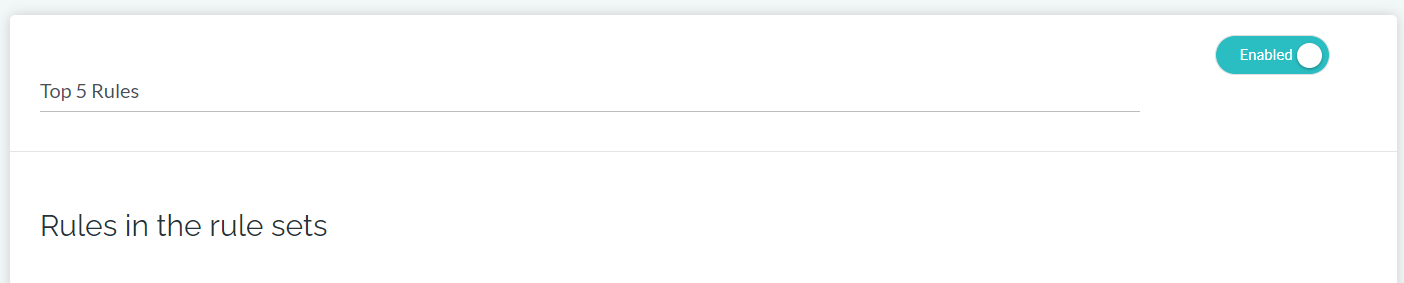
Enable Rule
Go back to the Rules page and to the Custom Rule Set that the rule belongs to.
Ensure that the Rule Set is enabled and the rule is enabled.