Table of Contents
Getting Started with TimeSanity

The following article describes how to get started with TimeSanity and caching your time entries successfully.
- Account Registration and Activation
- ConnectWise API Setup
Account Registration and Activation
- Navigate to https://app.timesanity.cloud
- Click 'Register' and fill in your ConnectWise Details:
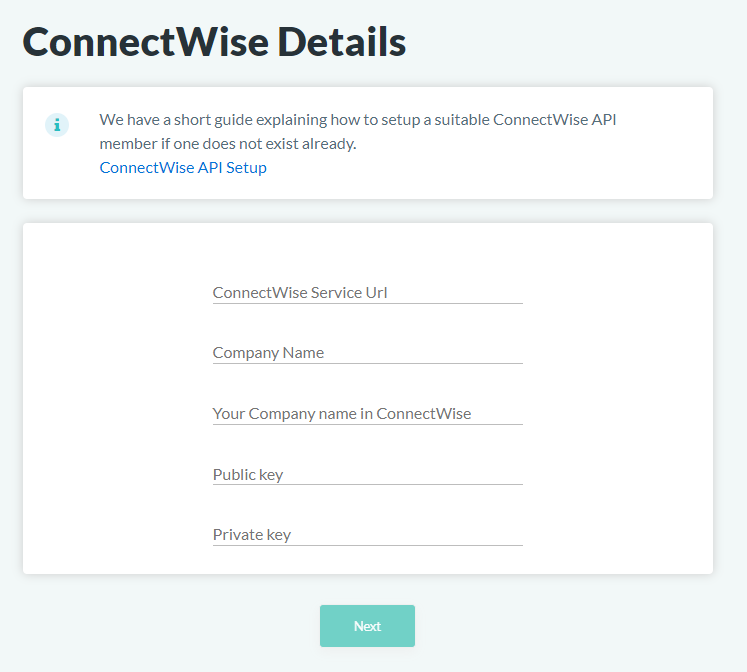
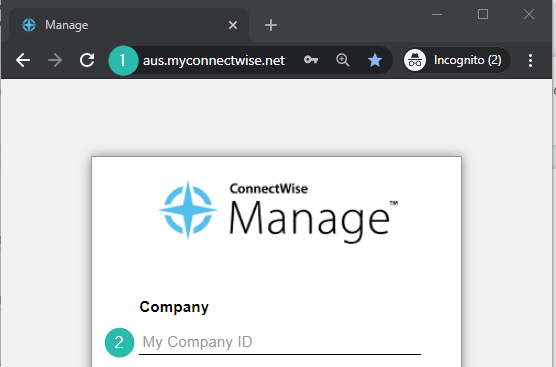
Your ConnectWise Service URL and Company Name are used to sign into the ConnectWise Web Portal:
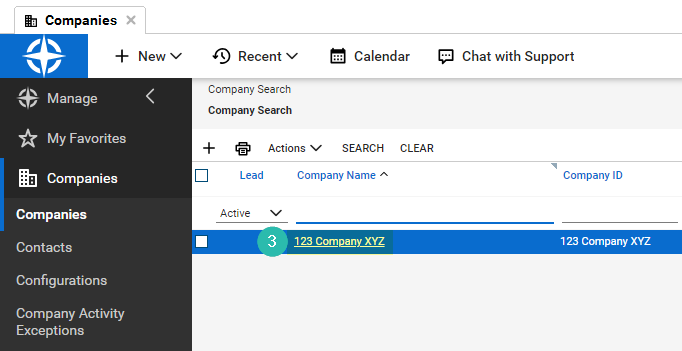
Your Company Name in ConnectWise is your internal Company Name within the Companies module:
The Public Key and Private Key are covered in the ConnectWise API Setup section of this article
ConnectWise API Setup
Follow the process below to setup your ConnectWise API Key which needs to be entered into the 'ConnectWise Details' under the "Profile' screen.
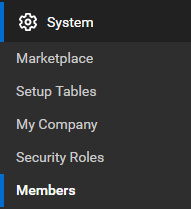
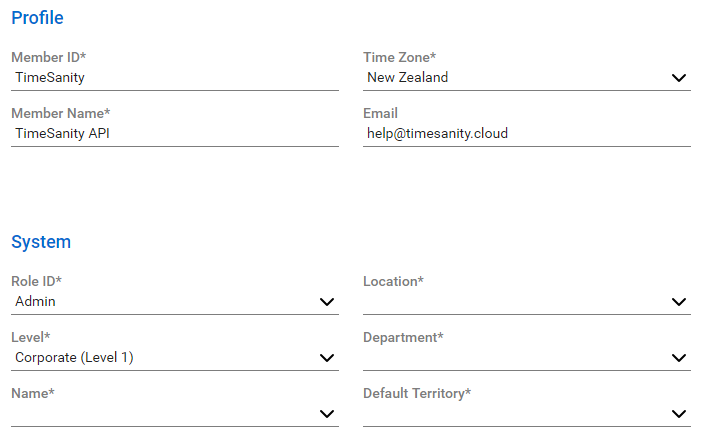
As a ConnectWise Administrator, browse to System > Members
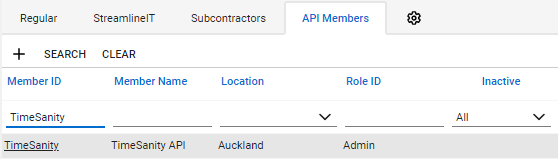
Select the API Members tab and click the + Symbol to add a new API Member.

A lot of the fields can be left as their default, and requirements per company may differ.
The following permissions are recommended for your first sync of TimeSanity.
- Role ID: Admin
- Level: Corporate (Level 1)
As an alternative, a new Security Role can be generated using our Minimum ConnectWise Security Requirements
Once complete, save your new API Member.
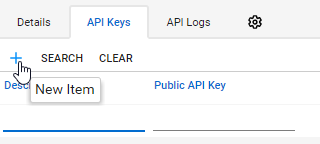
Create an API Key
Load into your recently created TimeSanity API Member:
Select the API keys tab and click the + Symbol to create a new API Key Pair.
Name your Key Pair and Save.
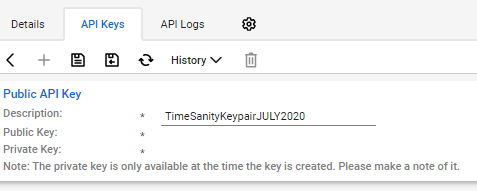
Store your API Public and Private Keys in a secure location.
These will only be available for you to view/copy once.
If you require further help you can contact us by writing to help@timesanity.cloud